Did you know that 70 percent of women are not happy with their breast size? Given the statistics, you can understand why breast implants are so popular. In fact, breast augmentation is the most popular cosmetic surgery in America. At the same time, such procedures are expensive – and risky, too.
Wouldn’t it be amazing if there were a better solution? Well, there is – breast enlargement exercises. Breast enhancement exercises improve the appearance of your breasts by strengthening the muscles that support them. So, if you want bigger, firmer, shapelier and younger-looking breasts, here are the exercises that may help you achieve that goal.
[adsanity id=”66647″ align=”alignnone” /]
No Gym Necessary: Breast Enlargement Exercises with Bodyweight
Joining a gym immediately may not work out for you, no pun intended. That’s why the first category of breast enlargement exercise doesn’t require any equipment. You can do these breast enlargement exercises using just your bodyweight. And you can do them at the convenience of your home.
1. Get Set with Wall Push-Ups
This is the first and the easiest of the breast enhancement exercises to try. If you search for breast enlargement exercise images, you will see that this is one of the most identifiable exercises. This is a good starting point for anyone who hasn’t been doing exercises that focus on the upper body on a regular basis.
Here’s how to do a wall push-up properly.
 Stand to face a wall and step back an arm-length away.
- Place your palms on the wall.
- Keeping your body straight, move towards the wall by bending your elbows and shoulders.
- Repeat the steps for the required number repetitions per set.
- Stop when your forehead touches the wall. Hold the position for a moment.
- Move away from the wall by straightening your elbows and shoulders.
- Stop when your elbows are almost straight.
- Remember to breathe in when you move towards the wall and breathe out when your move away.
- Always maintain a steady rhythm and the proper form.
2. Build Momentum Using Incline Push-Ups
If wall push-ups don’t challenge you enough, you can switch to incline push-ups. To do incline push-ups, you need a sturdy object that’s at least as tall as your waist, like a table or chair. Once you have the right object, follow these steps:
- Stand to face the object and step back an arm-length away.
- Keeping your feet together and your body straight, lean towards the object and grasp it firmly.
- Make sure whether your palms are shoulder-width apart. If your arms are perfectly straight, bend your elbows slightly.
- Lower your body by bending your elbows and shoulder. Maintain proper posture as you do so.
- Stop when your torso comes barely into contact with the object. Hold this position for a moment.
- Raise your body by bending your elbows and shoulder. Maintain proper posture as you do so.
- Stop when your elbows are almost straight.
- Repeat the steps for the required number of repetitions per set.
- Breathe in as you lower your body and breathe out as you raise it.
Basically, wall push-ups and incline push-ups help strengthen tendons, ligaments, and neural connections involved in the motion. This helps build the strength and flexibility needed to do more difficult exercises. If you can do these without effort, you will reap the benefits of these exercises.
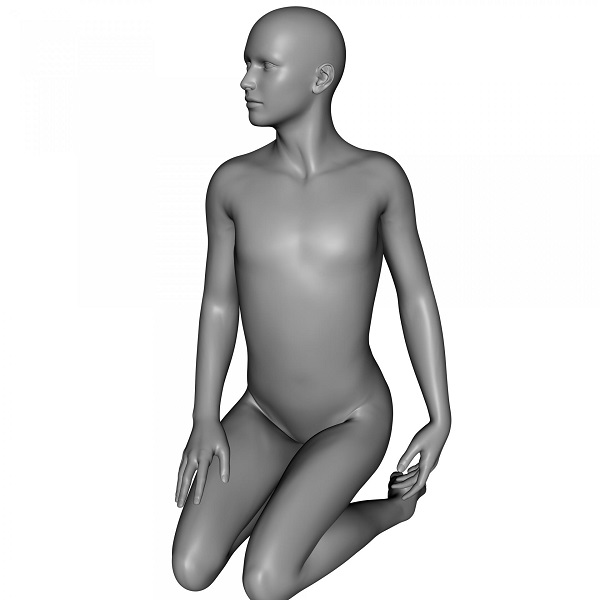
3. Add Strength Through Kneeling Push-Ups
After incline push-ups become comfortable, you can progress to kneeling push-ups. This is an intermediary step between standing push-ups and prone push-ups. To do this exercise in proper form, follow these instructions:
 Stand with your legs together and kneel down on the floor.
- Lean forward to place your palms on the floor.
- Check whether your thighs, spine, neck, and head are in alignment.
- Make sure your arms are shoulder-width apart. If your elbows are locked, bend them slightly.
- While maintaining proper posture, lower your body by bending your elbows and shoulders.
- Stop when your body is two to three inches above the floor. Hold the position for a moment.
- While maintaining proper posture, raise your body by straightening your elbows and shoulders.
- Stop when your elbows are almost straight.
- Repeat the steps for the required number of repetitions per set.
- Breathe in as you lower your body and breathe out as your raise it.
- Follow a steady rhythm and keep proper form.
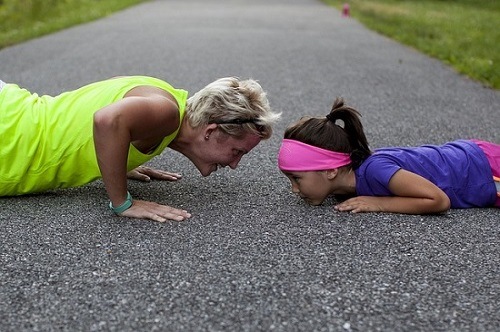
4. Master Full Push-Ups
Finally, it’s time to graduate to full push-ups. If you were totally out of shape, it might take two to three months to progress through the previous exercises and get to this point. On reaching this level, you can do a full push-up by following these instructions.
 Start the exercise as if you were doing a kneeling push-up.
- Instead of kneeling, stretch your legs backward.
- Keep your entire body in proper alignment.
- While maintaining proper form, lower your body by bending your elbows and shoulders.
- Stop when your chest reaches two to three inches above the floor. Hold the position for a moment.
- While maintaining proper form, raise your body by straightening your elbows and shoulders.
- Stop when your elbows are almost straight.
- Repeat the steps for the required number of repetitions per set.
- Breathe in as you go down and breathe out as you go up.
- Do not lose form. Always maintain a steady tempo.
Here’s a bonus tip, when you take a shower after your workout, you can use self-administered breast enlargement massage. Breast massage can increase the size of your breasts, make them firmer, reduce sagging, provide pleasure, and reduce stress. Isn’t that awesome? So, learning the proper way to give yourself a breast massage is a handy skill to have.
5. Kick Off the Next Level with Bent-Knee Bench Chest Dips
 The dip is a tougher breast lift exercise than the push-up is. If you can already do full push-ups, you can start here. Otherwise, wait until you master the full push-up before you try dips. Otherwise, you may lack the strength and flexibility to do dips without risking injury. If you are confident of your ability, here’s how you can do this exercise.
- Sit on a stable bench and place your palms on the bench. Plant your feet firmly on the floor and make sure your knees are at a 90-degree
- Your palms must point to the sides. This way, the focus goes is mostly on your chest rather than triceps.
- Keeping your spine straight, face forward and slightly lift yourself off the bench.
- Once your body hangs directly above the floor, lower your body by bending your elbows and pivoting your shoulder.
- Stop when your upper arms are parallel to the floor. As you get stronger, you can go down as much as your shoulder joints permit.
- Hold the position for a moment. Then raise your body by straightening your elbows.
- Stop when your elbows are almost straight.
- Repeat the steps for the required number of repetitions per set.
- Breathe in when you lower yourself and breathe out when you raise yourself.
- Always maintain a steady pace and focus on maintaining the proper form.
6. Turn It Up a Notch Using Straight Leg Bench Chest Dips
 When you have developed enough strength and flexibility to the point where bent-knee bench chest dips have become effortless for you, attempt to do some straight leg bench chest dips. The setup and steps involved in both exercises are nearly the same.
The only difference is, for straight leg bench chest dips, your knees must always be straight. At the same time, make sure you don’t lock your knees, keep them slightly bent.
7. Build Strength Through Raised-Leg Bench Chest Dips
For the last two exercises, you transferred some of your body weight to your legs. For this reason, your legs assisted your chest muscles, but after you can easily do the previous exercise, you can remove the leg support. You can do this by modifying the above exercise by resting your feet on a chair.
Always make sure of two things:
- Firstly, make sure the chair and the bench are of the same height.
- Secondly, be certain that only your feet are on the chair.
Thereafter, you can proceed with the exercise by following the steps mentioned before.
8. Master Chest Dips
 When you reach a point where the raised-leg bench chest dip is a piece of cake, you can try full chest dips. You can do the chest dips on parallel bars, or you can do them at home using two chairs. Since the instructions and precautions for this exercise are lengthy, you can check the video links to see how it’s done. But, if you find full chest dips difficult, you can use a little help from your legs and do leg-assisted chest dips.
Here’s another bonus tip. You can increase your motivation to exercise by enhancing your libido using supplements like Provestra. What’s more, when you exercise more, it compounds the libido boost. As a result, the benefits become cyclical.
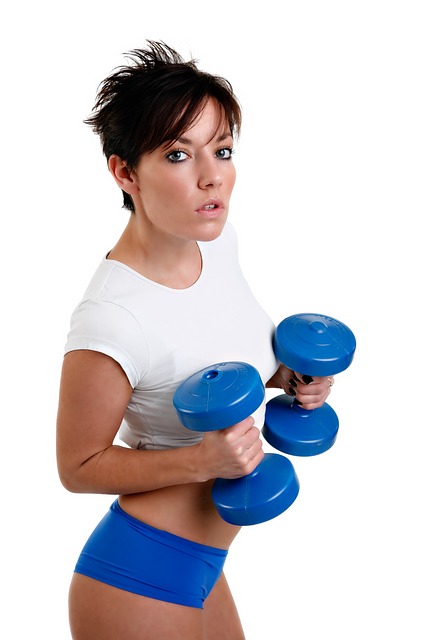
Breast Enhancement Exercises with Dumbbells
If you have access to a set of dumbbells, you can use the following breast augmentation exercise routines to develop your chest muscles. Even if you don’t own a set, consider buying an adjustable dumbbell set. You can buy them second hand at a reasonable price, or look for sales on them. You may even be able to borrow a pair from a friend or family member who isn’t using them any longer.
9. Get an Easy Start With Flat Chest Presses
 If you own a set of dumbbells, you can do this breast enlargement exercise at home. If you don’t, you may have to enroll in a gym. Once you get your dumbbells, follow these steps.
- Lie down on a bench and hold a dumbbell in each arm. Select a weight with which you’re comfortable.
- With your palms facing away from you, straighten your arms until your elbows are slightly bent.
- Lower the dumbbells by bending your elbows. Stop when the dumbbells reach your chest level.
- Hold the position for a moment. Then raise the dumbbells by straightening your elbows.
- Stop when your elbows are nearly straight.
- Inhale when you’re lowering the weight and exhale when you’re lifting the weight.
- Repeat the exercise for the required number of repetitions per set.
- Always maintain proper form and a steady pace.
10. Use Incline Chest Presses to Add Variety
To do this exercise, you will need an incline bench. You can think of an incline bench working like a recliner. The shorter part of the bench is where you sit. The longer part is where you rest your back. You can adjust the angle between the seat and the backrest.
To do an incline chest press, follow the steps for a flat chest press, but instead of lying down flat on the bench, you’re lying at an angle. Doing an incline chest press works the upper chest muscles. Flat chest press works the lower chest muscle. Try and include both while you’re exercising to target more muscles.
11. Chest Flys: The Perfect Complement for Chest Presses
 This is another great exercise to enlarge your boobs. To do a chest fly, you will need access to a dumbbell set. Once you have that, you can follow these steps.
- Lie down on a bench and hold a dumbbell in each arm. Make sure you use weights that you are comfortable with using.
- Straighten your arms until your elbows are almost straight. Turn your arms such that the palms face each other.
- Lower the weights by dropping your arms sidewise. Do not bend your elbows.
- Stop when the weights reach your chest level. Hold the position for a moment.
- Lift the dumbbells up without bending your elbows.
- Stop when your arms are perpendicular to the ground.
- Breathe in when you are lowering the weights and breathe out when you are lifting the weights.
- Repeat the steps for the required number of repetitions per set.
- Be sure to keep your form and maintain your tempo.
12. Put a Fresh Twist to Chest Flys with Incline Chest Flys
If you have an incline bench, you can do incline chest flys along with flat chest flys. To do this exercise, you must follow the same steps as you did for flat chest flys. With this exercise, instead of lying flat on the bench, you will lie down at an incline. Use this exercise to selectively develop the upper chest muscle.
Inexpensive Yet Invaluable Equipment: Doing Breast Exercises with a Stability Ball
 The next piece of equipment you can add to your home gym is the stability ball. You can use stability balls in two ways. Firstly, the ball can make an exercise easier by providing stability. Secondly, the ball can make an exercise tougher by reducing stability. So, depending on how you use the ball, you can make your exercises easier or tougher.
In the next three exercises, you will see how you can increase the difficulty of some of the previous ones.
13. Try Stability Ball Chest Presses
In this variation of chest press, you will perform the exercise as if you were on a flat bench. The only difference is that you must lie down on a stability ball instead of lying down on a bench. This will make you use more of the stabilizer muscles. Therefore, many more muscles will get secondary benefits.
14. Switch to Stability Ball Chest Flys
This is the same as doing flat chest flys. However, you will lie down on a stability ball and not a flat bench. Since the stability ball is round, you will need to work extra hard to maintain form. In doing so, many additional muscle groups will get a workout.
15. Do Push-Ups with Stability Ball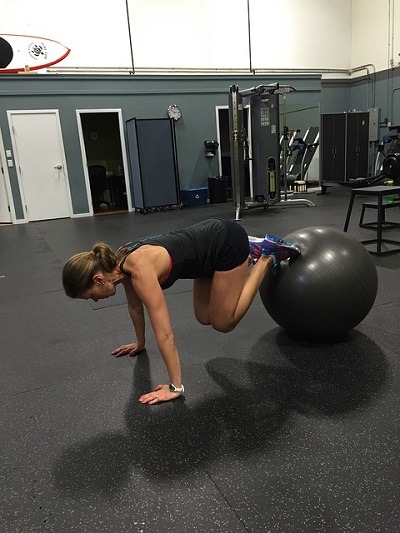
You can use stability balls to increase the difficulty of push-ups. For instance, you can use the ball to elevate your legs to do decline push-ups. Decline push-ups are much harder than regular push-ups. Alternatively, you can use a stability ball to do an incline push-up. This form of push-up requires greater effort than doing the normal incline push-up.
Suggestions on Getting the Best Out of Your Workouts
Once you choose an exercise, you must select the number of repetitions and sets. To do this, follow these guidelines:
- Do one set of 10 repetitions.
- Add another set of 10 repetitions.
- Again, add another set of 10 repetitions.
- Thereafter, increase the number of repetitions in each set by just five repetitions.
- Keep increasing the repetitions until you can do 20 to 30 repetitions per set.
Other things to consider are the weights you use. If you find you are able to complete the last set in perfect form without any difficulty, increase the weight. At the same time, if you are struggling to do the last set in proper form, decrease the weight until you can build up.
 Ideally, your breast enhancement workout should stress you enough to induce growth. But not so much that you don’t recover in time for your next session. This brings us to the frequency. You can exercise for utmost an hour for three to five days a week. Doing more may be counterproductive. Also, make sure you eat a proper diet and get enough rest.
The Best Time to Start Is Today
Vincent Van Gogh said, “Great things are not done by impulse, but by a series of small things brought together.” Within a few months of following an exercise regimen, you will discover how right Van Gogh was. Right now, all you need to do is pick one exercise. Pick the exercise you feel is the simplest. Then, get moving.
Once you master that, come back to the list and pick another one. Gradually, you will see an appreciable result in your bust line. So, begin your breast enlargement exercise routine today.